Preface
In the chase for networking certifications a key part of studying is labbing. Throughout the years labbing has evolved, from large racks of hardware to now being able to run on topologies of any size on your own laptop.
A recent reddit thread inspired me to write about my experience with labbing tools, and what my current lab workflow is today.
Mainstream labbing tools
We are long past the days of having racks of equipment making lots of noise and plenty of heat. With vendors releasing images of their hardware for virtualisation, the norm today is to use virtualised labbing software.
These tools generally take a linux distro and virtualise using KVM/QEMU and will usually have some fancy wrappers and a UI to make building and running the lab more user-friendly. This also means you can run the software as a VM on a laptop or dedicated server/cloud.
EVE-NG
The most popular software used today is EVE-NG.
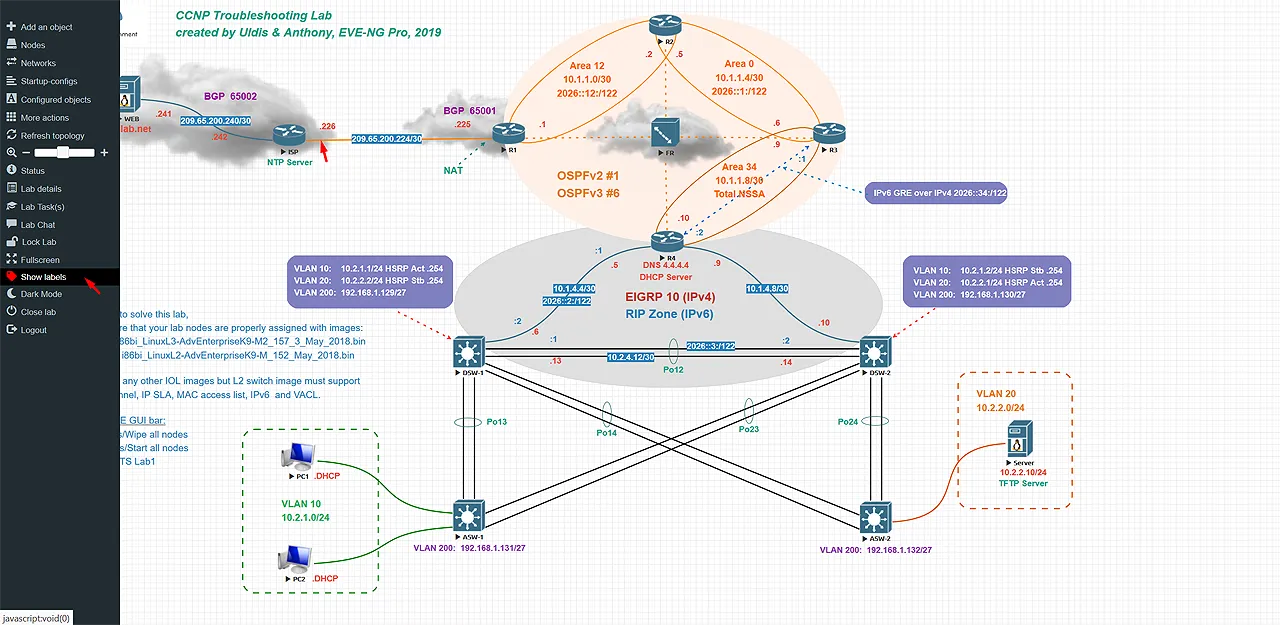
With EVE-NG you must load your images via SCP or SFTP onto the VM, you get a nice UI to manage your labs. With the UI tasks such as wiring of devices and managing startup configuration is easy.
They have a client-side pack that you must install to access the conosle via software like PuTTY or SecureCRT as well as packet capture directly in Wireshark on your computer.
Unfortunately while easy to setup and use, some features are blocked behind a paid license.
One of these locked features, was hot-plugging interfaces, if you had nodes that took a long time to boot this meant you’d have to stop all devices and then perform the wiring/connection and re-boot. In my opinion this was a dealbreaker.
I personally also ran into issues running the Cisco XRv9k, which was integral to my labbing. I spent plenty of time troubleshooting but decided to just move on from EVE.
PNETLAB
I will mention a derivative of EVE-NG called PNETLAB.
PNETLAB takes the EVE-NG source and modifies it so that many of the pro features are available for free.
I personally tried PNETLAB and had some stability improvements with the XRv9k but it wasn’t good enough to lab on for me.
If you search online their is some controversy around PNETLAB and ‘stolen code’ so i’ll leave it up to you whether you want to use it or not.
Cisco Modelling Labs
Cisco Modelling Labs (CML for short) is Cisco’s own labbing software. It is the successor to their VIRL product and similarly to EVE-NG gives you a nice Web UI to lab with.
You don’t need to supply images yourself as Cisco includes a .iso file with all the images. This does however mean that CML is a paid product, but you can access CML for free via Cisco DevNet sandbox.
Many people purchase the CML license to load the images into other software such as EVE-NG.
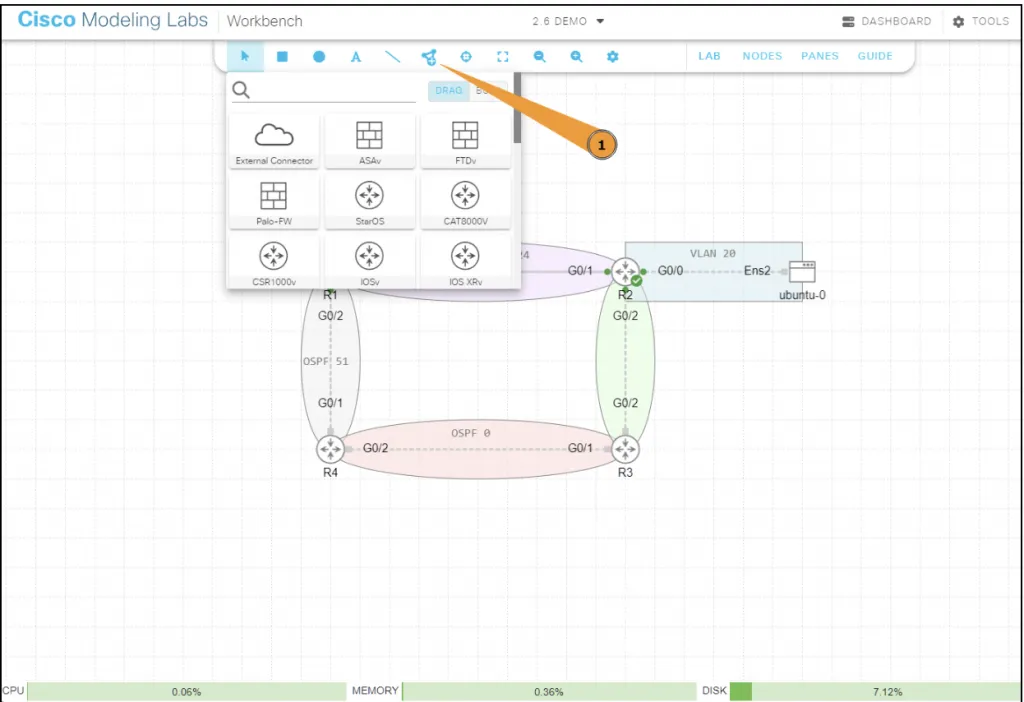
With CML terminal and packet capture is integrated into the Web UI. You can also set link conditions like packet loss (this is also a feature in EVE-NG PRO).
However there is no functionality to live packet capture using Wireshark on your computer, and to console in using software like SecureCRT you must use the Breakout tool or PaTTy functionality.
CML is the easiest way to lab Cisco platforms, and I had no issues with the XRv9k. CML does support other vendors however the support as not as extensive as EVE-NG.
The lack of desktop packet capture made it annoying when capturing and being a paid product it meant the CML VM had to have continous internet access for licensing but this may not matter to you.
GNS3
Graphical Network Simulator 3. At one point it probably the most widely used labbing software in the Dynamips glory days. Today it still retains it’s desktop/thick client but also has a Web UI in scenarios for a headless install on a dedicated server.
It’s very similar to EVE and CML functionality wise. GNS3 is also fully free and open-source.
I didn’t test it extensively as I wasn’t too interested on a thick client as I switch between computers, and the Web UI integration for things like packet capture and console was flakey at best.
Enter containerlab
Containerlab is probably the newest labbing tool out there. It’s fully free and open-source.
Contrary to the labbing software I mentioned earlier containerlab has no Web UI. It follows IaC principles and labs are defined as yaml files, this allows for things like version control and automation of labs and not to mention the relaxed resource requirements.
Containerlab takes advantage of a trend in networking where vendors are containerising their NOSes. Containerlab comes in and orchestrates and wires docker containers together making labbing simple.
Don’t let the name fool you, even though it’s called containerlab it does support VM-based routers (which i’ll discuss later).
Containerlab also has all the features of the other software such as link characteristics and packet capture.
Installation
For most major linux distros installation is easy with the one-liner install script. It installs all dependencies as well as containerlab itself. This makes it easy to get up and running on any system.
See containerlab.dev for other supported platforms & install methods.
curl -sL https://containerlab.dev/setup | sudo bash -s "all"Don’t forget to execute newgrp docker or log out and log back in.
Define a topolgy
Labs are represented via files in yaml syntax. Below is a basic topology using 2 Cisco IOS-XRd routers.
name: my-xrd-labtopology: nodes: xrd-1: kind: cisco_xrd image: kaelem/xrd-control-plane:7.10.2 xrd-2: kind: cisco_xrd image: kaelem/xrd-control-plane:7.10.2 links: - endpoints: ["xrd-1:Gi0-0-0-0","xrd-2:Gi0-0-0-0"]Start your lab
sudo containerlab deployYou should see something like the following output
+---+-----------------------+--------------+---------------------------------+-----------+---------+----------------+----------------------+| # | Name | Container ID | Image | Kind | State | IPv4 Address | IPv6 Address |+---+-----------------------+--------------+---------------------------------+-----------+---------+----------------+----------------------+| 1 | clab-my-xrd-lab-xrd-1 | 6fb900fdb9ab | kaelem/xrd-control-plane:7.10.2 | cisco_xrd | running | 172.20.20.3/24 | 2001:172:20:20::3/64 || 2 | clab-my-xrd-lab-xrd-2 | 192f8463bd0f | kaelem/xrd-control-plane:7.10.2 | cisco_xrd | running | 172.20.20.4/24 | 2001:172:20:20::4/64 |+---+-----------------------+--------------+---------------------------------+-----------+---------+----------------+----------------------+Lab away
Containerlab will apply a startup configuration to the nodes which enables basic access via SSH, NETCONF, gNMI etc.
Below is an example of SSHing into the xrd-1 node. It’s nice and easy since the container names are added to the hosts file of the containerlab host so the container names resolve locally.
kaelem@n1 ~ ❯ ssh clab-my-xrd-lab-xrd-12 collapsed lines
Warning: Permanently added 'clab-my-xrd-lab-xrd-1' (RSA) to the list of known hosts.(clab@clab-my-xrd-lab-xrd-1) Password:
RP/0/RP0/CPU0:xrd-1#sh ver16 collapsed lines
Fri Aug 2 12:47:17.298 UTCCisco IOS XR Software, Version 7.10.2 LNTCopyright (c) 2013-2023 by Cisco Systems, Inc.
Build Information: Built By : deenayak Built On : Sat Nov 18 11:04:33 UTC 2023 Build Host : iox-lnx-100 Workspace : /auto/srcarchive14/prod/7.10.2/xrd-control-plane/ws/ Version : 7.10.2 Label : 7.10.2
cisco XRd Control Planecisco XRd-CP-C-01 processor with 191GB of memoryxrd-1 uptime is 13 minutesXRd Control Plane Container
RP/0/RP0/CPU0:xrd-1#Stop your lab
To stop your lab execute the following:
sudo containerlab destroyThis will leave a folder in your lab directory which contains files relevant to your lab, this could be a saved configuration or something else. To delete this and fully ‘clean’ your lab you can perform:
sudo containerlab destroy -c # -c is shorthand for --reconfigureVM based routers
Some routers are not available containerised, instead you can use the containerlab adapted fork of the vrnetlab project; hellt/vrnetlab.
vrnetlab packages the VM NOSes into a docker container and runs qemu in the container. It enables the NOS to nicely integrate with containerlab’s orchestration and wiring using docker networks.
Clone hellt/vrnetlab
git clone and git checkout the latest vrnetlab version according to the containerlab docs.
git clone https://github.com/hellt/vrnetlab.gitgit checkout v0.56.0 # do not just copy and paste this, check the compatability matrix in the docs.Copy the router image into vrnetlab
Copy the image of interest into the correct subdirectory in the vrnetlab folder.
In this example i’m going to make a XRv9k image so I copy my image (xrv9k-fullk9-x-7.7.1.qcow2) into vrnetlab/xrv9k/
If you’re on Windows you can use WinSCP or FileZilla to move the image to the containerlab machine.
Build the image
Enter the directory you copied the image into and execute:
make docker-imageSome images may build in 1-2 minutes and some may take up to 20 minutes depending on whether the image undergoes a first boot installation phase.
Make sure to read the relevant README files & documentation to be sure of any caveats when building images.
Lab away
If you execute docker images you should see the image appear as vrnetlab/something with the software version number as the tag.
kaelem@n1 ~ ❯ docker imagesREPOSITORY TAG IMAGE ID CREATED SIZEvrnetlab/vr-xrv9k 7.7.1 ab0d7375d59f 1 day ago 2.21GBCheck the documentation to get the relevant kind to use in your lab topology and it’s as simple as that.
Packet capture
You can view the documentation for other packet capture methods, but i’m not gonna waste any time and jump right into what I think the best method is; Edgeshark.
Edgeshark is a 3rd-party tool by the great people at Siemens. It discovers all containers + their interfaces on the host and then provides a Web UI where you can initiate packet capture on any container interface via Wireshark.
Simply run:
curl -sL https://github.com/siemens/edgeshark/raw/main/deployments/wget/docker-compose.yaml | docker compose -f - up -dand then go to https://<your-containerlab-host-ip-or-domain-name>:5001 and what awaits you is a nice UI.
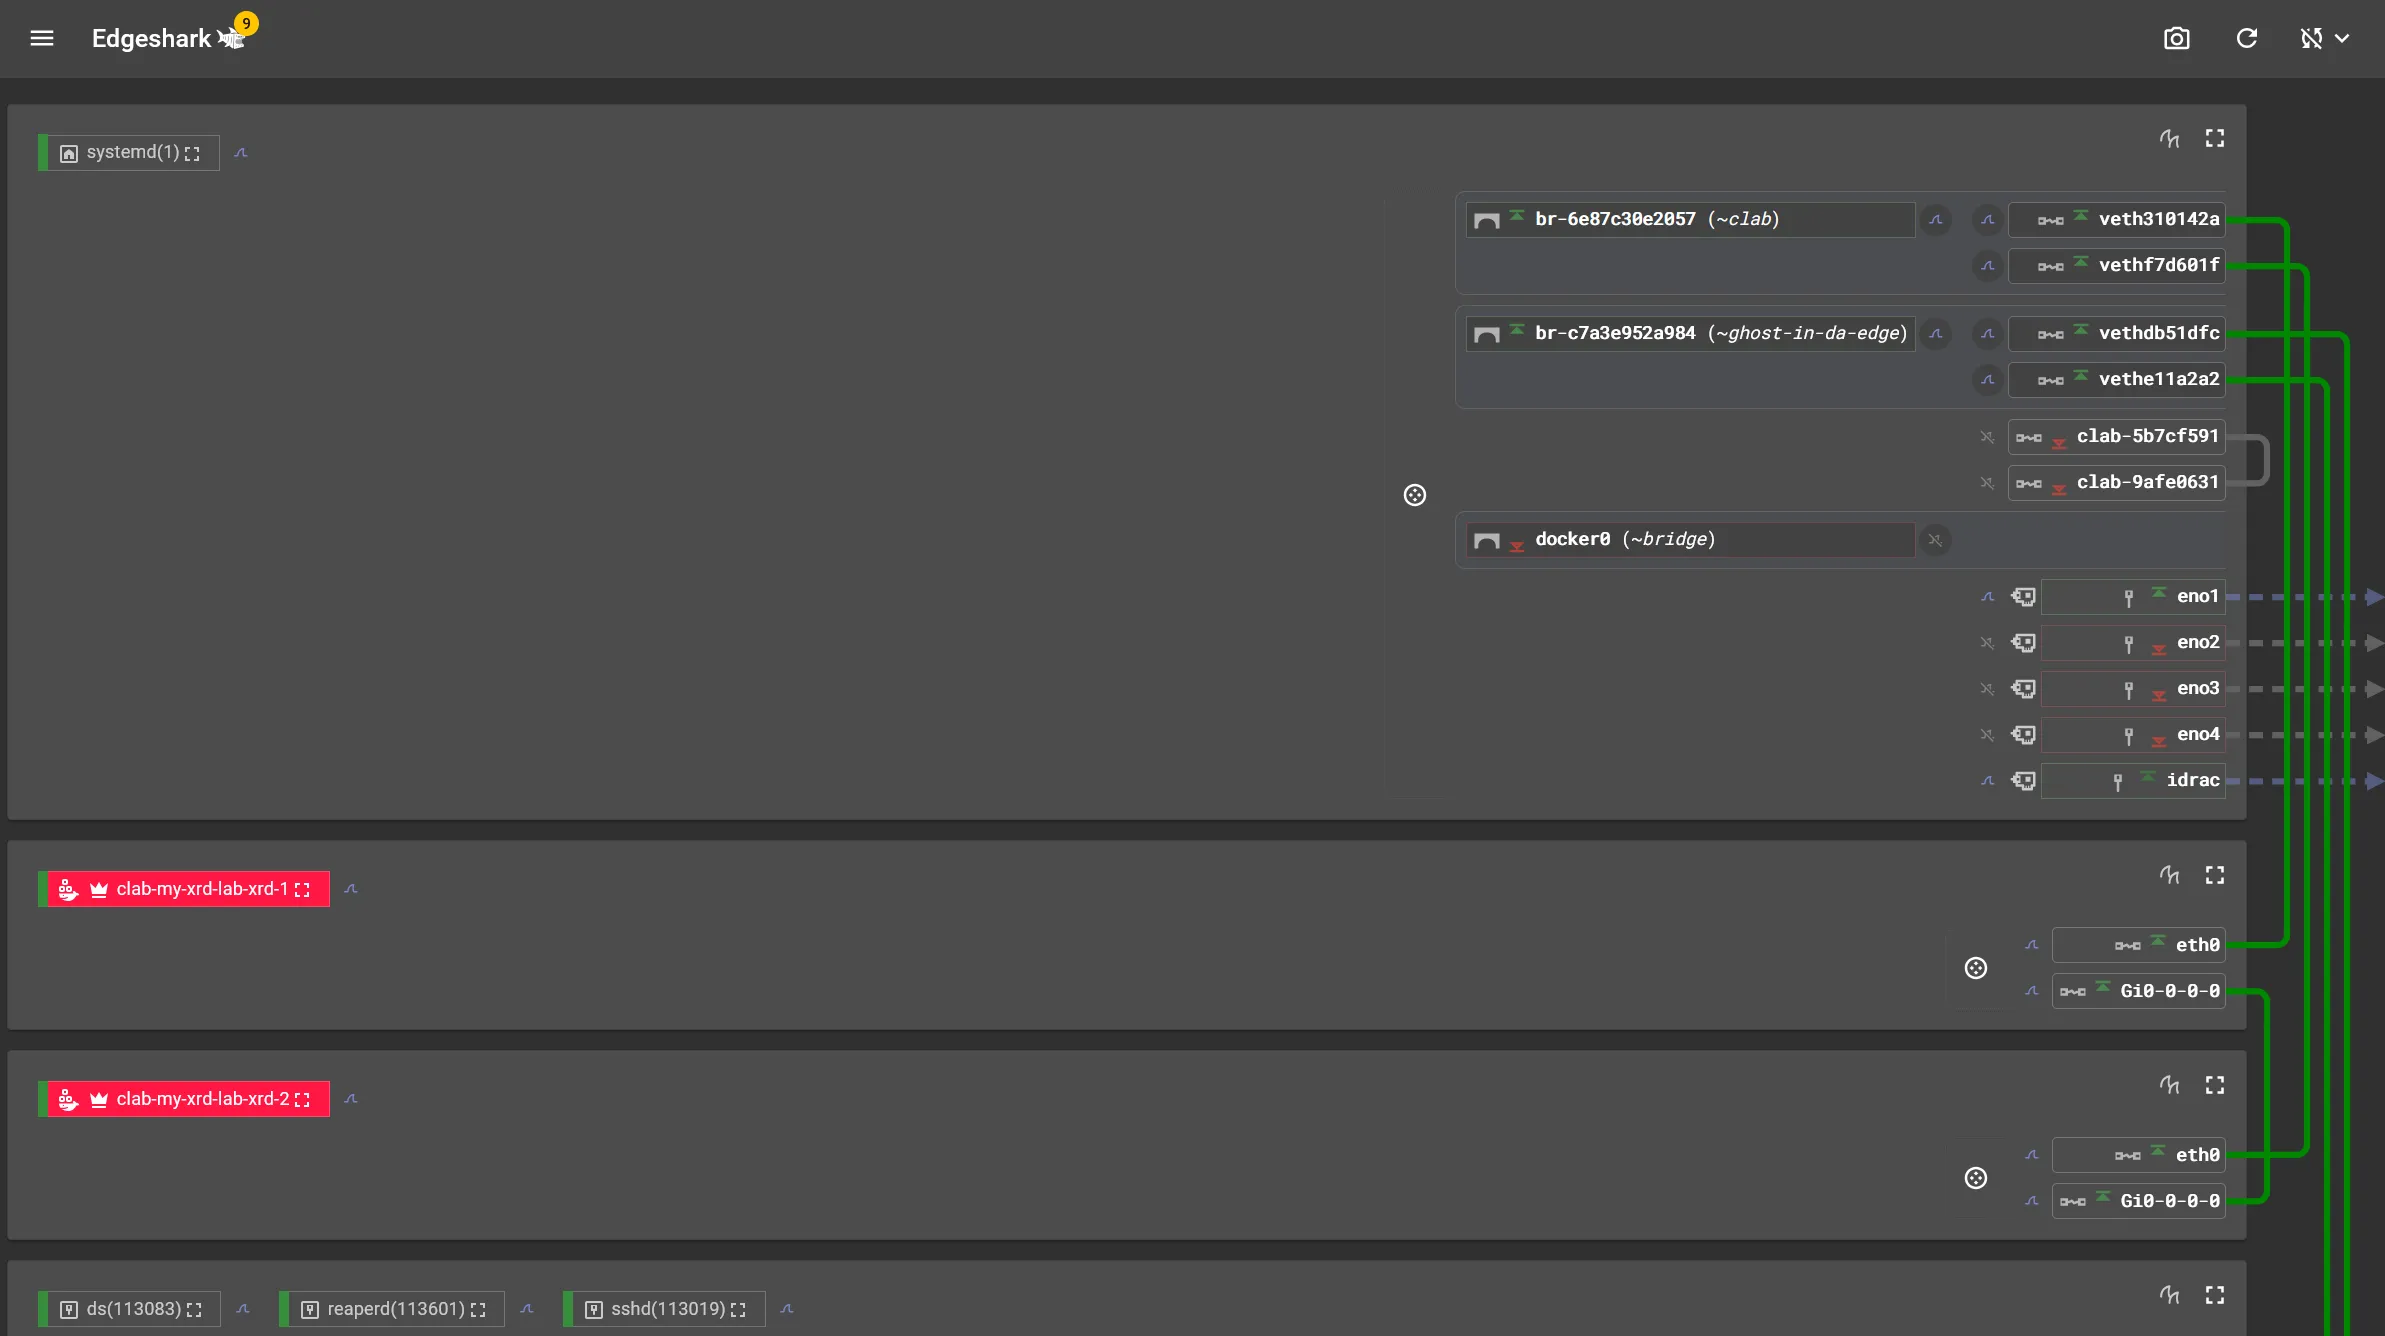
To use Wireshark capture you must unfortunately download the client-side wrapper (cshargextcap) which enable protocol handling so that Wireshark opens with the click of a button. See the Edgeshark docs.
Tips and other recommendations
An easy one is to use clab instead of containerlab.
sudo clab deployI would also recommend creating a git repository for all your labs which allows you to easily save, sync, share and version control them.
If you have any issues containerlab has an active community on their Discord, or you can create a GitHub issue.
Conclusion
Out of all the labbing tools Containerlab is a clear winner for me. It’s feature-rich, free and open-source, has an active community and pretty much the only real labbing tool for containerised NOSes.
Lack of Web UI might seem intimidating but it’s easy to pick up and a great way to learn and apply IaC, I have no doubt it’ll quickly become second nature to you.
Since the project is open-source there is a community-driven nature and plenty of friendly people able to help, as well as really good documentation.
I’ve personally contributed to the project, and it was my first time contributing to open source, but I’ll leave that for another blog post.
For folks who are restricted by resources, Containerised NOSes are generally light on resources making containerlab an excellent choice, you may not even have to run it in a VM like EVE-NG or CML.
Containerlab can also run in GitHub Codespaces.
I will say to always trial your options and see what works best for you, depending on what you’re labbing and your level of technical skill you may find EVE-NG or CML easier, it’s generally better to lab than having to learn the ropes of the labbing software.
Thanks for reading.